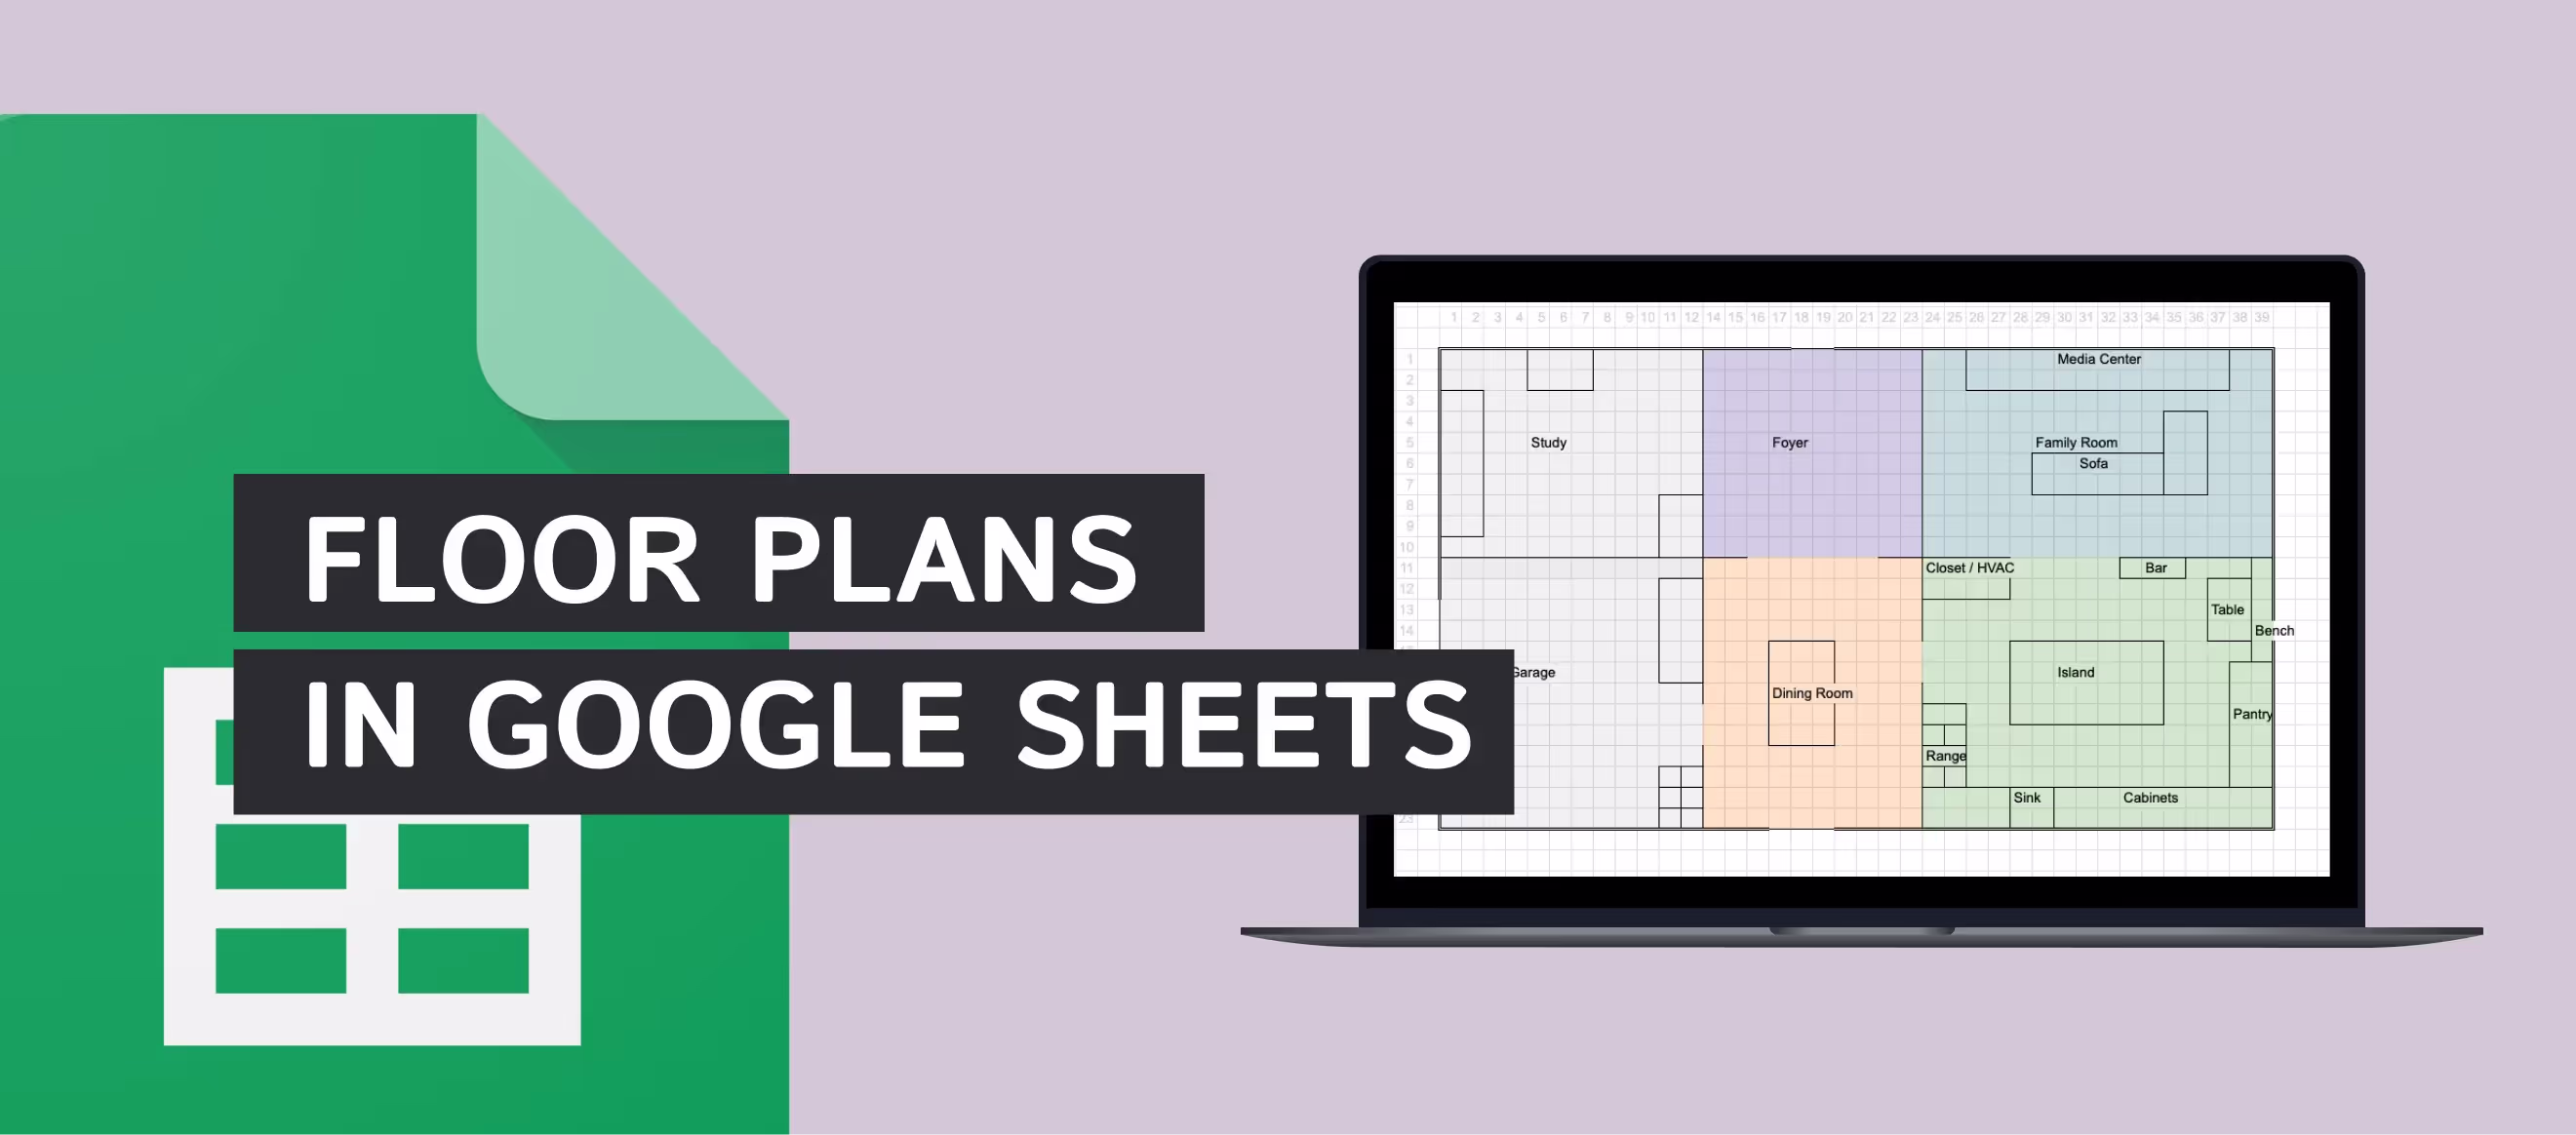
How To Make a Floor Plan in Excel or Google Sheets
Intro
Creating a floor plan doesn’t always require professional CAD software—sometimes, all you need is a simple spreadsheet tool like Excel or Google Sheets. While it may seem uncommon, using a spreadsheet to map out a room layout, furniture placement, or even a complete house plan is a great way to visualize space efficiently and with precision.
The next generation of our workforce is growing up with Google Classroom and are well-versed with these tools. Many teachers are learning to design classroom layouts in Google products.
In this tutorial, we’ll show you how to turn an ordinary spreadsheet into an editable floor plan that you can use to conceptualize your space or project using square grid cells (similar to graph paper), adjustable room layouts, and even furniture and appliance placements.
While it may lack features compared to a floor plan app, but this might be a great start to organizing your project.
Step 1: Set Up Your Grid
Before you start designing, you need to adjust the spreadsheet so that each cell represents a fixed unit of measurement. The best way to do this is to make each cell square, allowing for an easy-to-read scale.
How to Resize the Cells:
- Select All Cells: Click the box in the top-left corner of the sheet (above row numbers and left of column letters).
- Adjust Column Width: Click and drag any column edge, or right-click → “Resize column” and set it to 20 pixels (adjust based on your scale).
- Adjust Row Height: Right-click any row number → “Resize row” and set it to the same 20 pixels to create a square grid.
- Set a Scale: Decide on a scale where each square represents 1 foot (or another unit of your choice).
- Copy the formatting using the paintbrush tool and add as many rows and columns as you need.
Now, your spreadsheet will look like graph paper, making it easy to design layouts to scale.
Step 2: Draw the Floor Plan Using Borders
Once your grid is set up, you can start mapping out the floor plan by adding borders to define walls, doors, and room separations.
How to Add Borders:
- Outline the House: Click and drag to select the cells that will form the outer walls. Then, use the Borders tool (icon that looks like a square with lines) and apply thicker borders for walls.
- Define Individual Rooms: Select different sections for rooms and add internal walls using thinner borders.
- Mark Key Features: Use borders to represent cabinets, appliances, windows, doors, and fixtures.
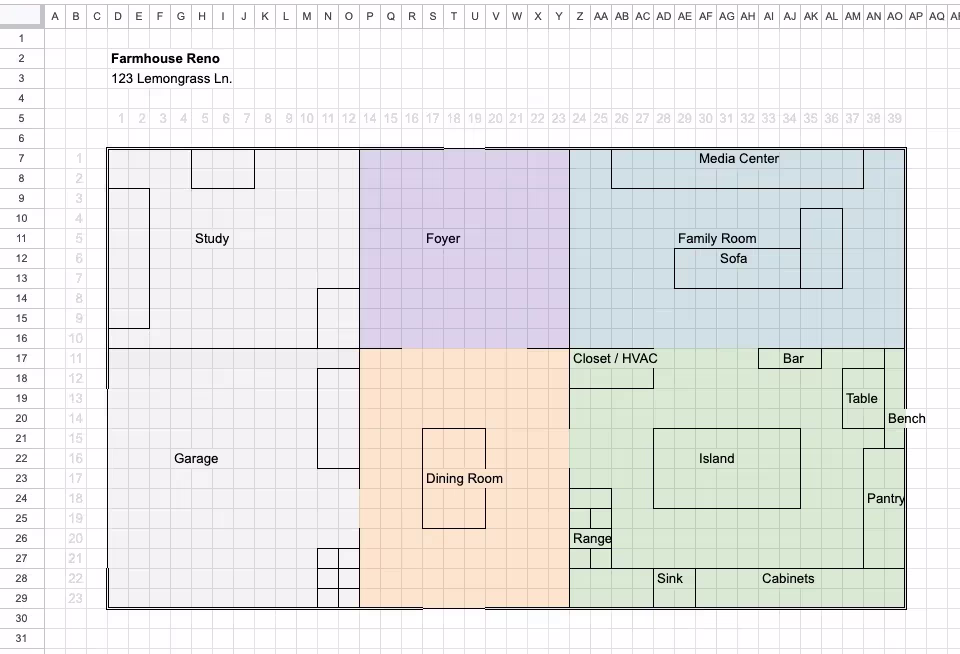
💡 Tip: Use different colors to fill the cells of each room (like light blue for the family room and light orange for the dining room) to make the plan visually clear.
Step 3: Label Rooms and Key Features
To avoid confusion, add labels to each space.
- Click on a cell inside a room and type the name (e.g., “Kitchen”).
- Bold the text or merge cells (select multiple cells → click “Merge”) to center larger labels.
- Label appliances, storage areas, and furniture (e.g., "Island," "Sink," "Range," etc.).
In the example image above, each room is clearly labeled, making the layout easy to understand.
Step 4: Add Furniture and Appliances
To make the floor plan more realistic, add furniture, cabinets, and appliances.
How to Represent Furniture & Objects:
- Use Borders and Filled Cells to represent tables, sofas, or counters.
- Merge Cells to make larger objects like an island or a couch.
- Use Symbols or Text to label items (e.g., “Table,” “Bench,” “Pantry”).
- Different Cell Colors can indicate different materials or surfaces.
For example, the kitchen area in the image includes designated spaces for a sink, cabinets, an island, and a bar, making it easy to visualize the cooking and dining layout.
Step 5: Copy and Paste Materials & Inspiration
A great hack for enhancing your floor plan is to copy and paste product images into your spreadsheet. This can include:
- Flooring samples from a website.
- Countertop materials like quartz, granite, or wood.
- Furniture images from home design catalogs.
- Appliance mockups to see how they fit in your space.
💡 Tip: Take a screenshot of a product image, then paste it into your spreadsheet to visualize different textures and finishes in your space.
Step 6: Experiment with Layouts & Variations
The advantage of using a spreadsheet for a floor plan is that everything is easily editable. You can:
- Copy and paste different layouts to compare versions.
- Move walls or furniture without having to redraw.
- Try different room configurations to see what works best.
Open the free sample!
Want an Easier Way to Create a Floor Plan? Try ArcSite!
While spreadsheets can be used as a hack to sketch a floor plan, there’s a much easier way. Instead of manually resizing cells and drawing borders, ArcSite lets you create professional-quality floor plans effortlessly.
Why ArcSite is the Best Floor Plan Creator:
✅ Drag-and-Drop Shapes: Instantly add doors, windows, appliances, and furniture from an extensive shape library—no need to manually draw them.
✅ Scale Drawings with Precision: Unlike spreadsheets, ArcSite allows for accurate dimensions and scaling without guesswork.
✅ Customizable Templates: Use pre-made floor plan templates or create your own designs in minutes.
✅ Available on Any Device: Draw and edit your floor plan on iOS, Android, or desktop—no clunky spreadsheets required!
✅ Professional Outputs: Generate PDFs, takeoffs, and estimates from your floor plan instantly.
🎉 Try ArcSite FREE for 14 Days and see how much easier it is to create professional, scaled floor plans compared to using a spreadsheet.
Floor Plan Resources
- Free Floor Plan Templates and How To Create a Floor Plan
- Best Floor Plan App for Sales Teams
- Why Construction Pros are Switching to Mobile Floor Plan Apps
Categories


Try ArcSite for yourself
Not quite ready for a demo? Start a free 14-day trial of ArcSite with no credit card required!
Available on iOS, Android, and Windows devices.


